
MQ-135 Air Quality Sensor with Arduino UNO

Written by
Atribot team
Last updated
June 18, 2026
Introduction
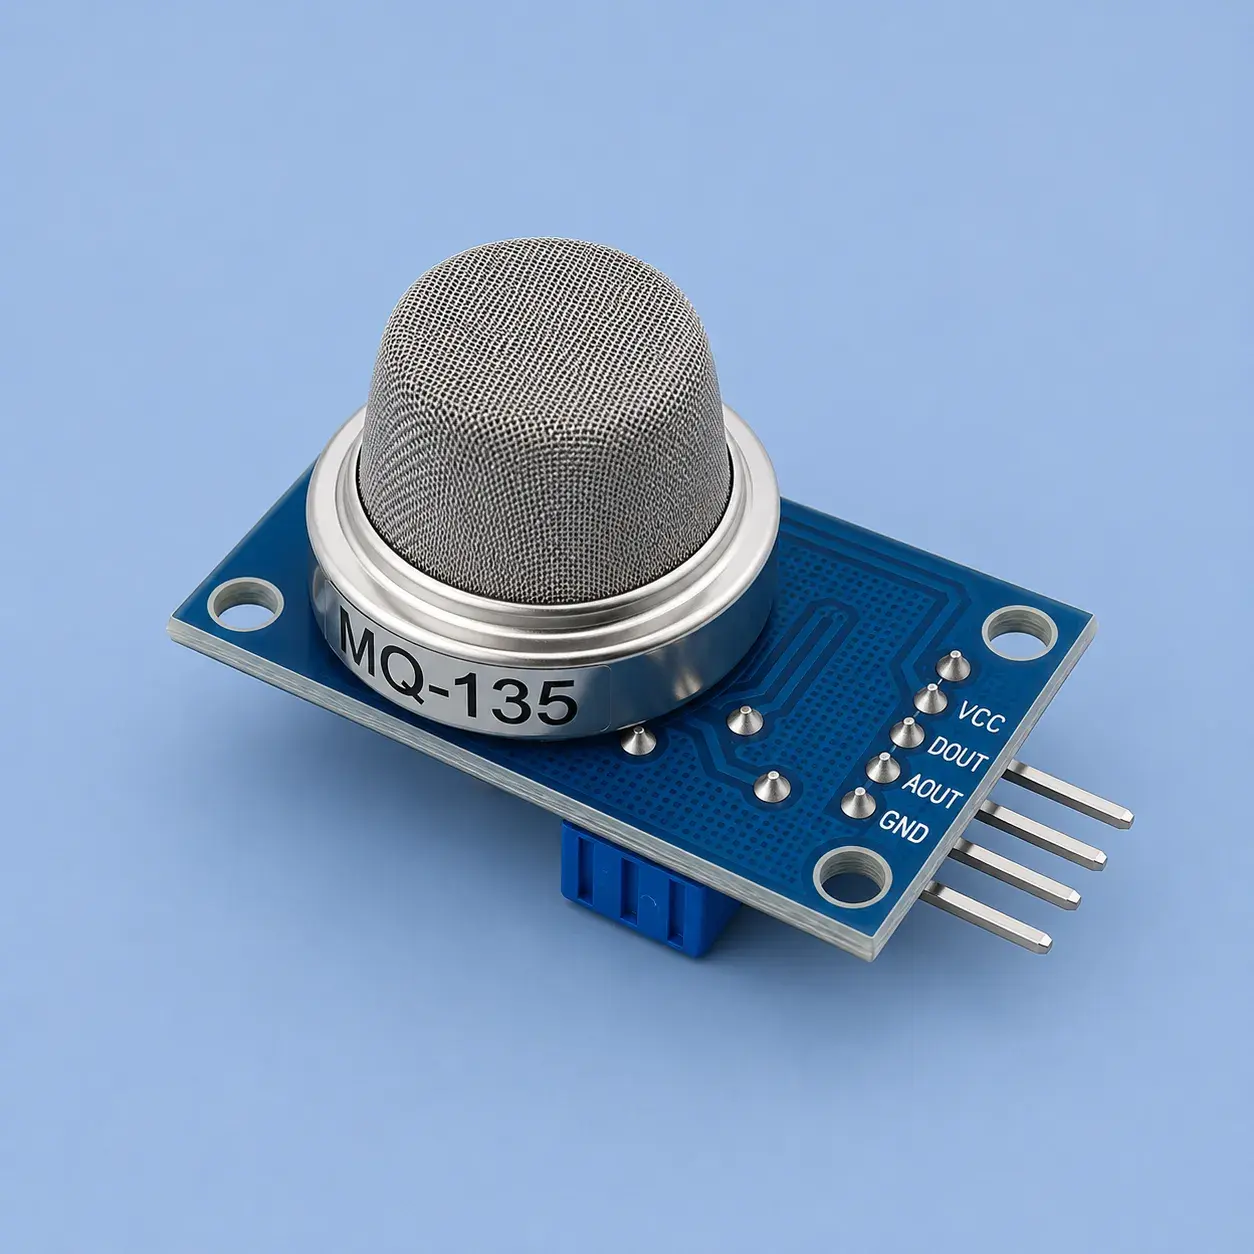
The MQ-135 Air Quality Sensor is designed to detect various gases and air pollutants such as ammonia (NH₃), nitrogen oxides (NOₓ), alcohol, benzene, smoke, and carbon dioxide (CO₂). It is commonly used in air quality monitoring systems, environmental monitoring projects, smart home automation, and IoT-based pollution detection applications.
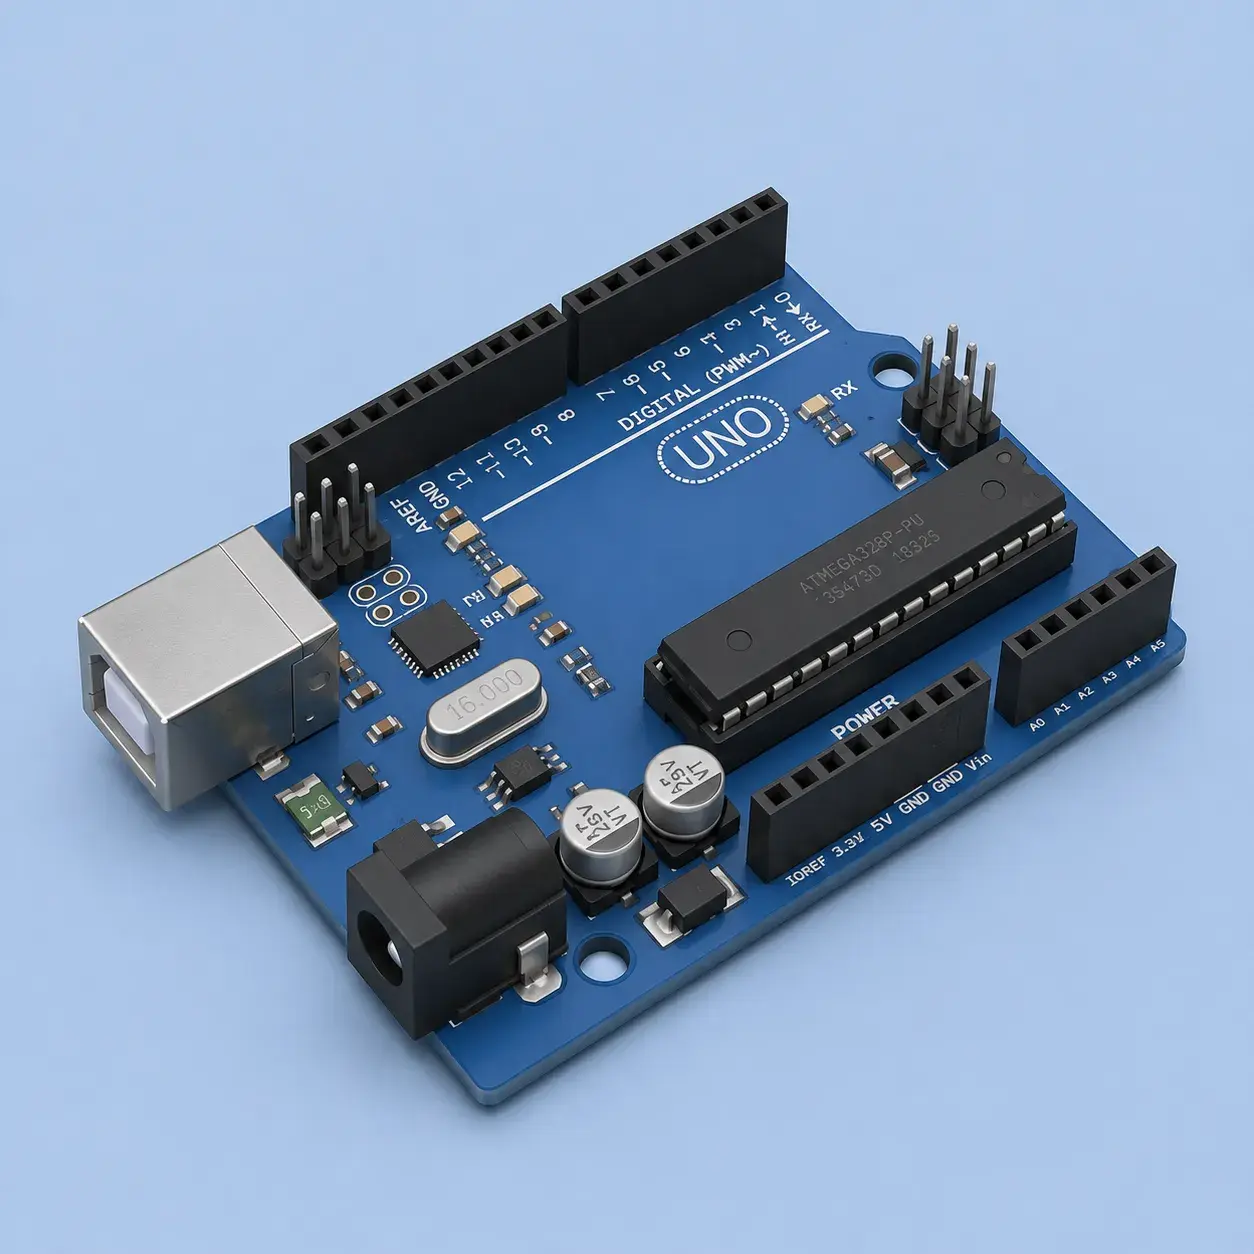
In this tutorial, you will learn how to interface the MQ-135 Air Quality Sensor with an Arduino UNO, upload the code, and monitor air quality levels using the Serial Monitor. By the end of this guide, you'll understand how to measure changes in air quality using analog sensor readings.
Components Required
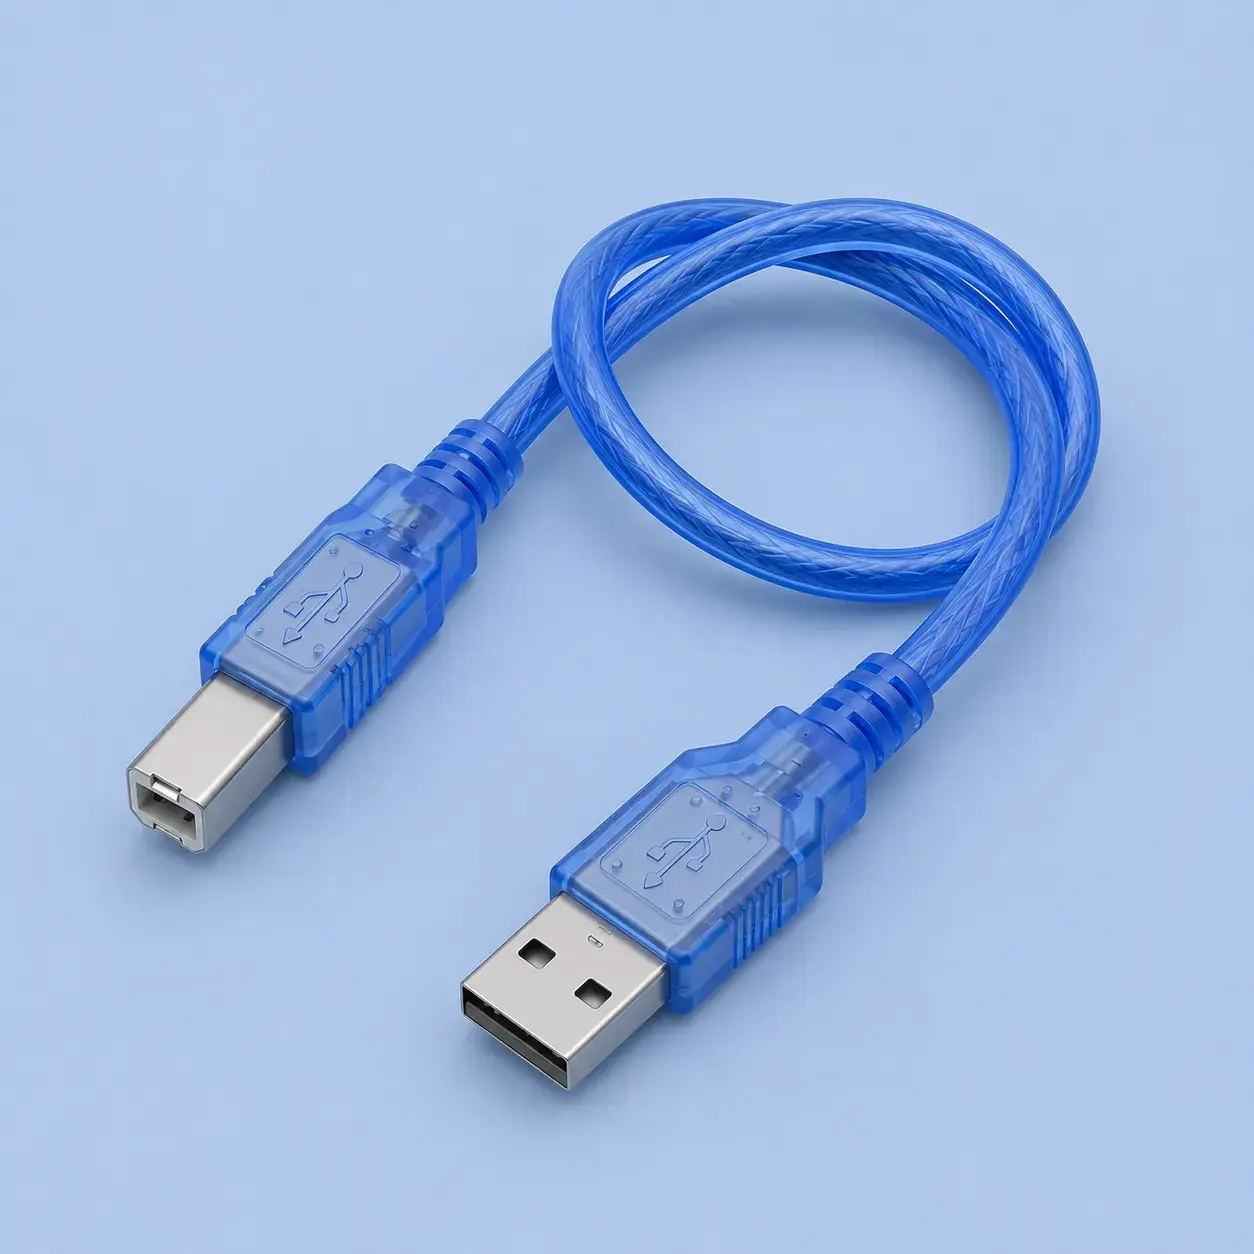

Tools Required


Software Required
| Item Name | Action |
|---|---|
Arduio IDE | Download |

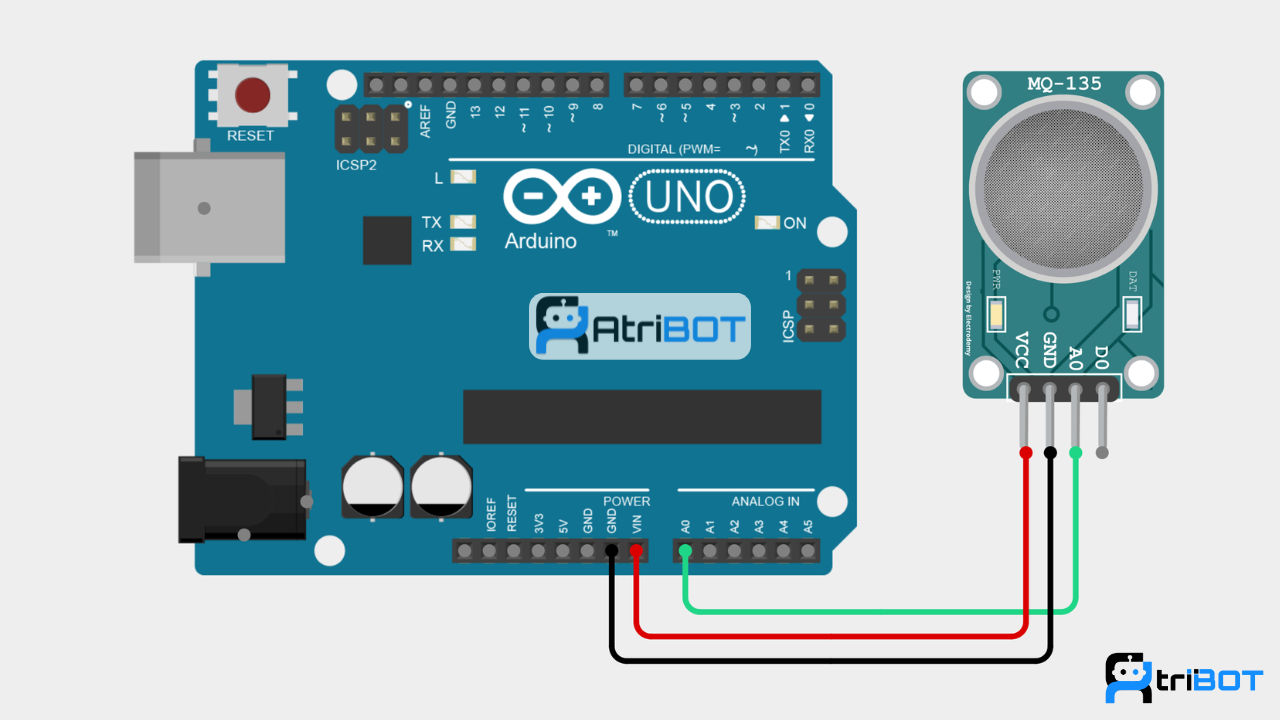
Circuit Diagram
Source Code
const int mq135Pin = A0;

void setup()
{
  Serial.begin(9600);
}

void loop()
{
  int airQuality = analogRead(mq135Pin);

  Serial.print("Air Quality Value: ");
  Serial.println(airQuality);

  delay(1000);
}Step by Step Instructions
Step 1: Connect the MQ-135 Sensor
Make the following connections:
MQ-135 | Arduino UNO |
|---|---|
VCC | 5V |
GND | GND |
A0 | A0 |
Step 2: Open Arduino IDE
Launch Arduino IDE.
Connect Arduino UNO using USB.
Select:
Board → Arduino UNO
Port → Correct COM Port
Step 3: Create a New Sketch
Create a new Arduino sketch and paste the provided code.
Step 4: Verify the Code
Click the Verify button to check for syntax errors.
Step 5: Upload the Code
Click Upload and wait until the upload process completes successfully.
Step 6: Open Serial Monitor
Open Serial Monitor.
Set the baud rate to 9600.
Allow the MQ-135 sensor to warm up for 20–30 seconds.
Observe the sensor values in normal air conditions.
The Serial Monitor will display air quality readings continuously.
Expected Output
Under normal air conditions:
Air Quality Value: 180
Air Quality Value: 185
Air Quality Value: 190
When exposed to smoke or polluted air:
Air Quality Value: 420
Air Quality Value: 580
Air Quality Value: 760
Higher values generally indicate poorer air quality and increased gas concentration.
Conclusion
In this tutorial, you learned how to interface the MQ-135 Air Quality Sensor with Arduino UNO and monitor air quality using analog readings. This setup can be used in environmental monitoring systems, indoor air quality detectors, smart home applications, and various IoT projects that require pollution and gas detection.