
IR Sensor with Arduino UNO

Written by
Atribot team
Last updated
June 18, 2026
Introduction
IR (Infrared) Sensors are widely used in Arduino projects for object detection, obstacle avoidance, line-following robots, and automation systems. These sensors work by emitting infrared light and detecting the reflected signal from nearby objects.
In this tutorial, you will learn how to connect an IR Sensor Module to an Arduino UNO, upload the code, and detect objects using the Serial Monitor. By the end of this guide, you'll understand how IR sensors work and how to use them in your own projects.
Components Required
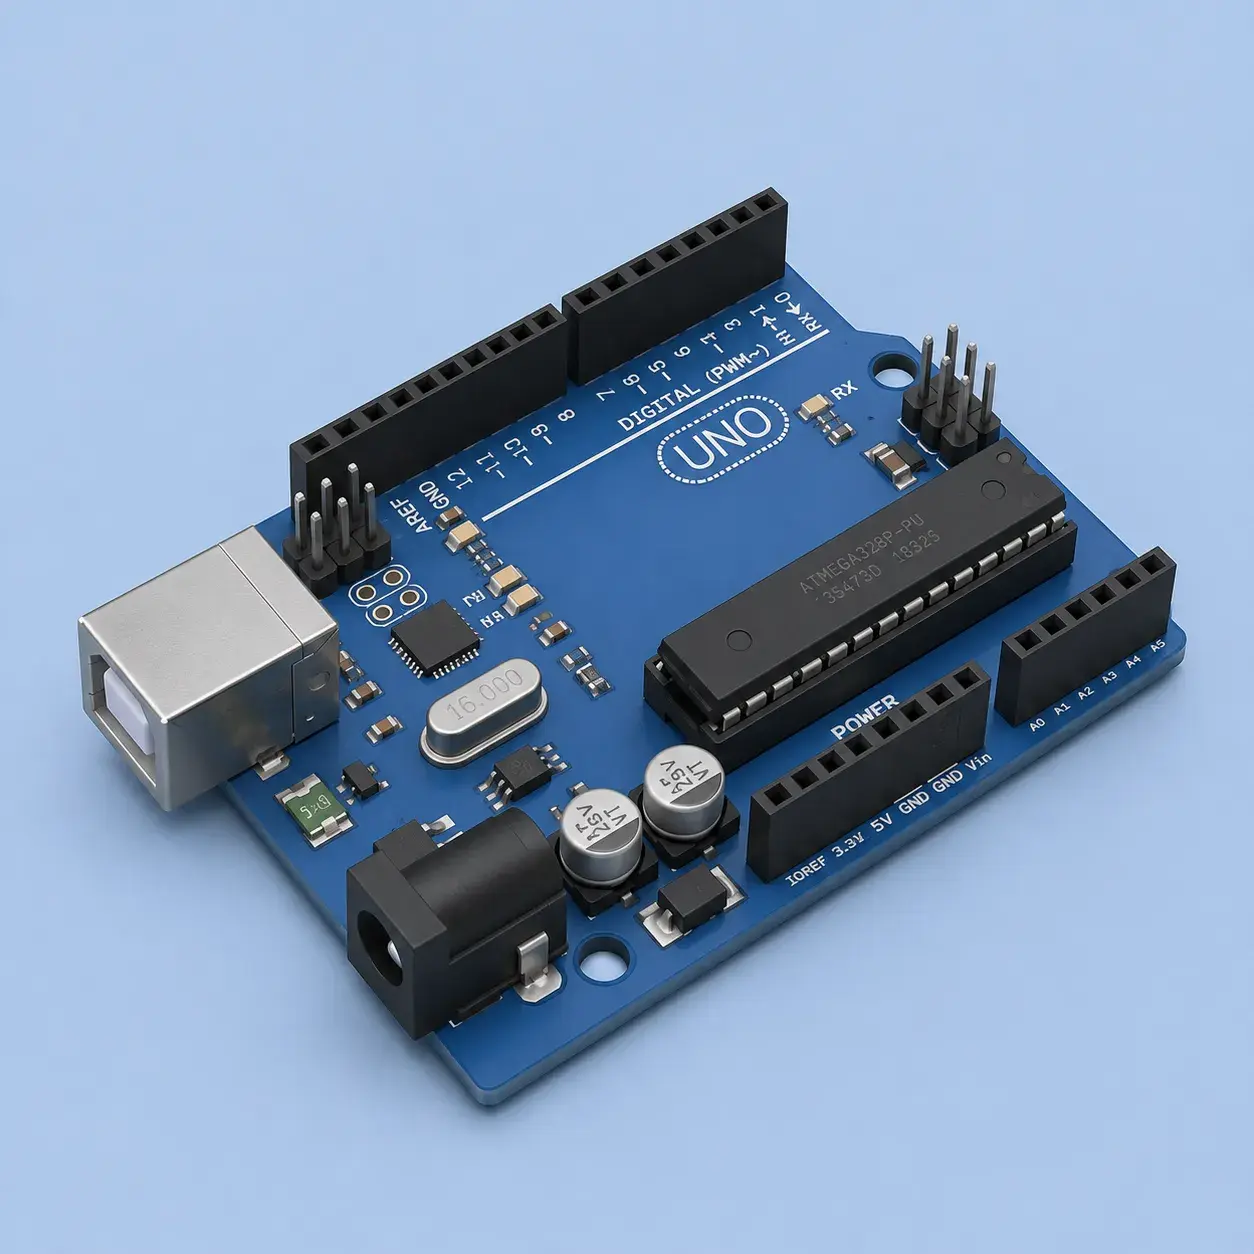

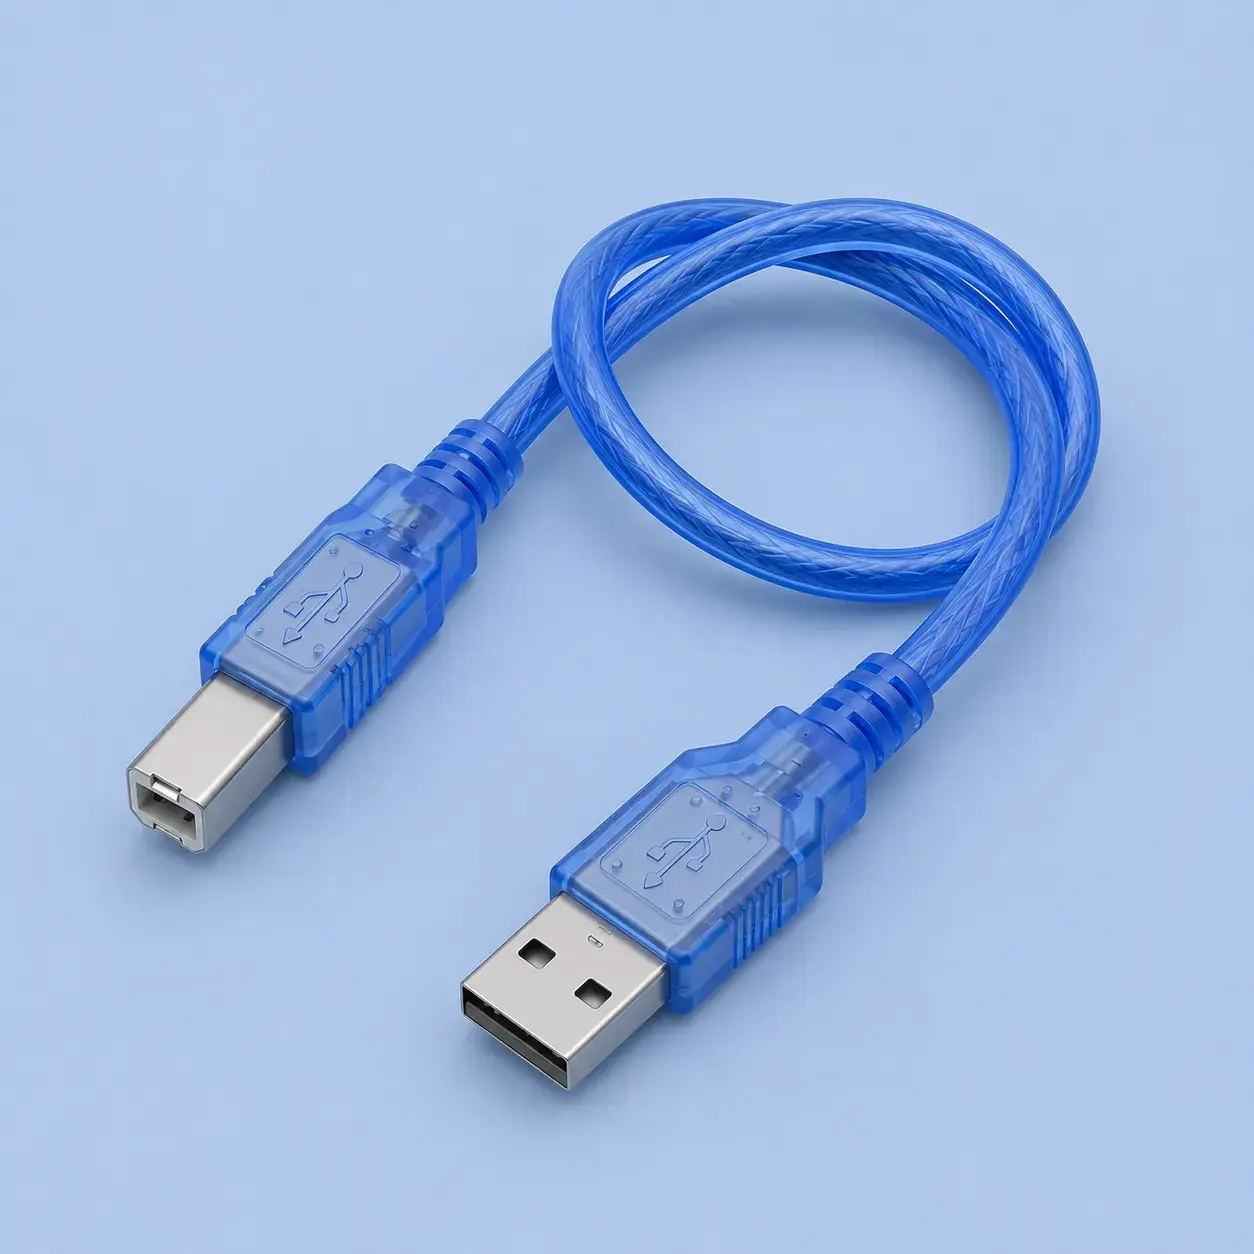
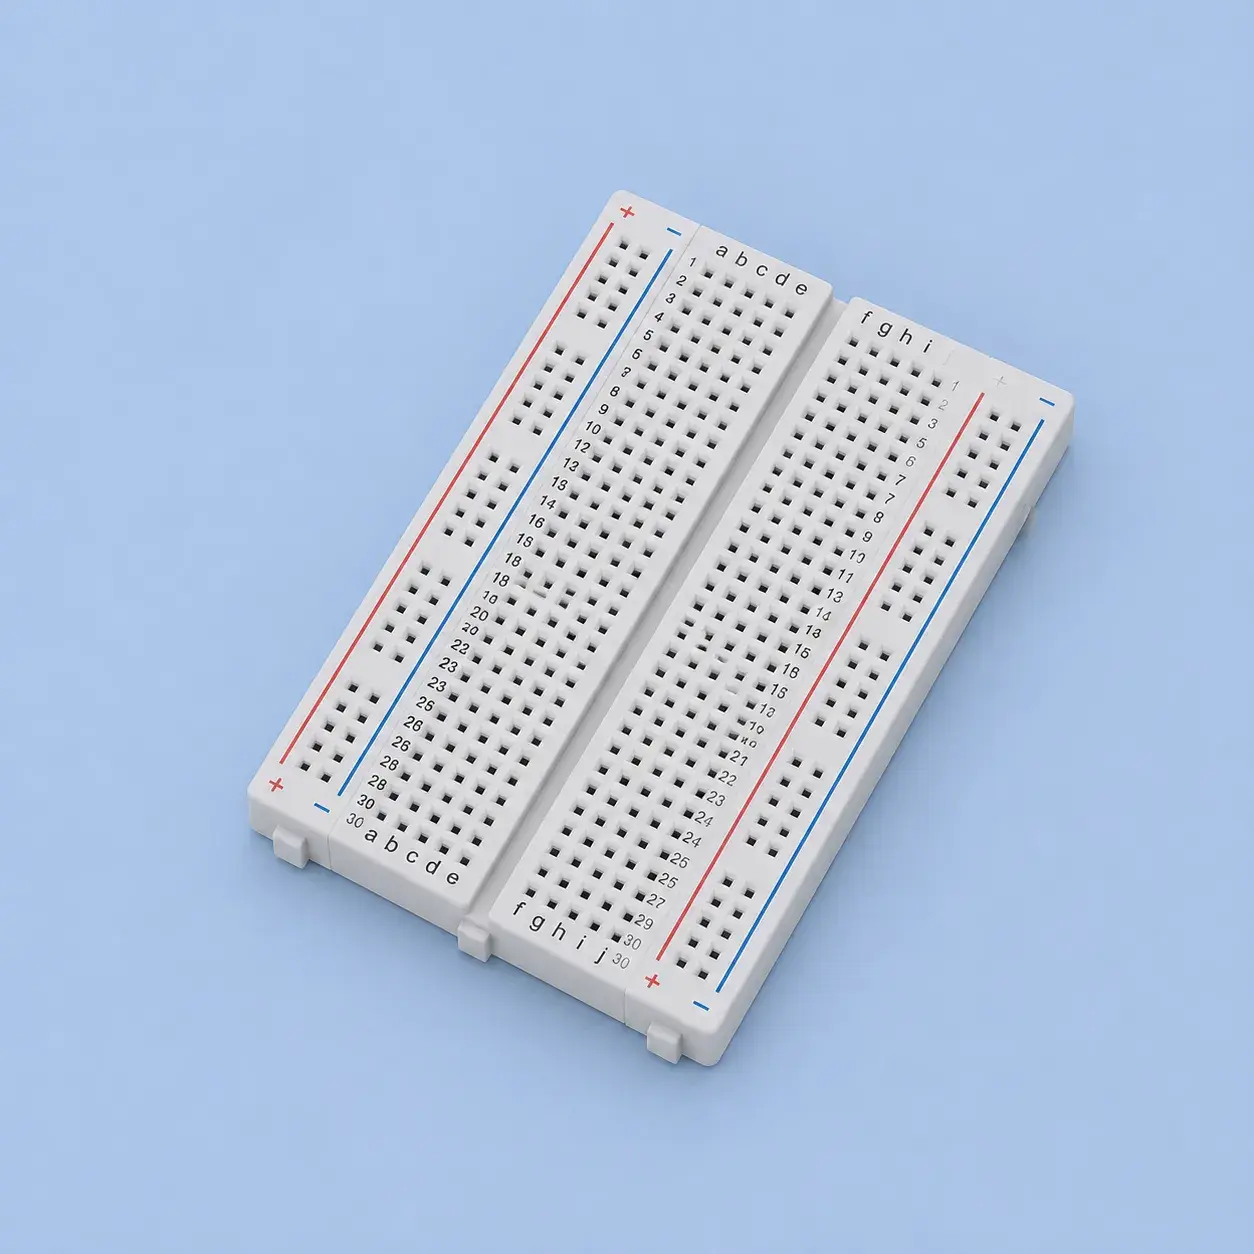

Tools Required
| Item Name | Action |
|---|---|
Screwdriver | Get Tool |

Software Required
| Item Name | Action |
|---|---|
Arduio IDEDownload and install the Arduino IDE before proceeding. | Download |

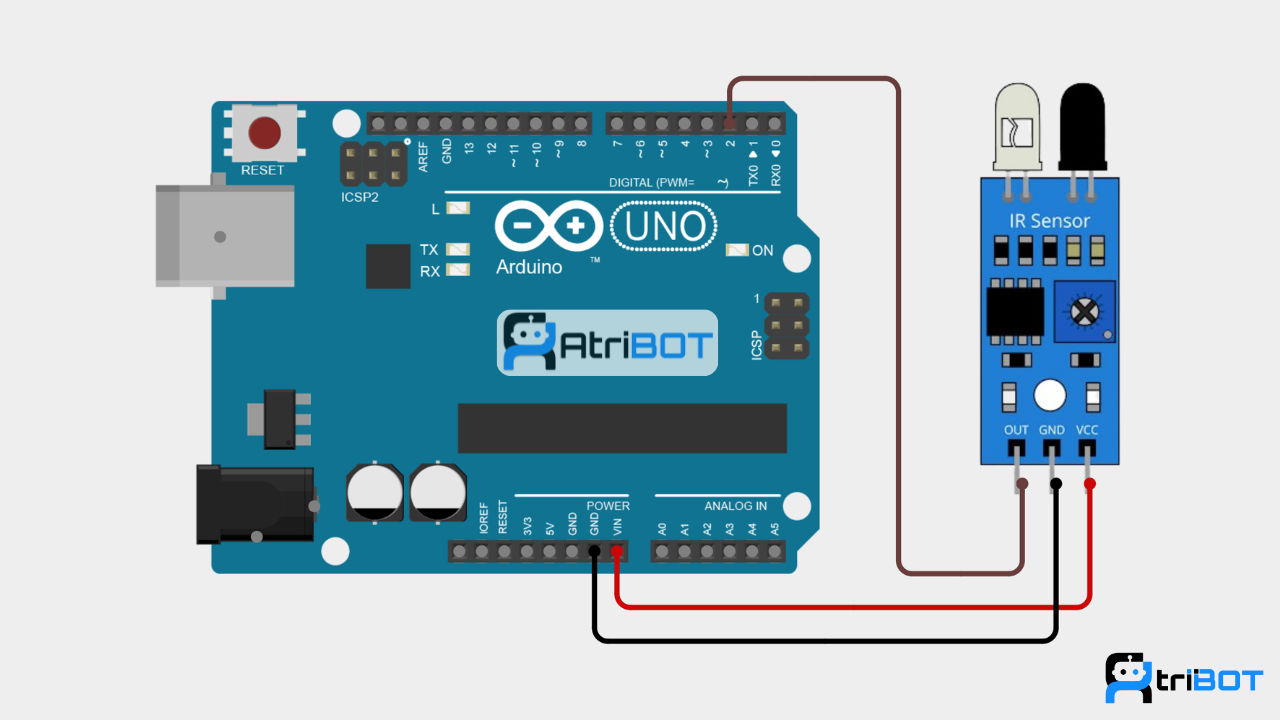
Circuit Diagram
Source Code
const int irSensorPin = 2;

void setup()
{
  pinMode(irSensorPin, INPUT);

  Serial.begin(9600);
}

void loop()
{
  int sensorState = digitalRead(irSensorPin);

  if(sensorState == LOW)
  {
    Serial.println("Object Detected");
  }
  else
  {
    Serial.println("No Object");
  }

  delay(500);
}Step by Step Instructions
Step 1: Connect the IR Sensor to Arduino
Make the following connections:
IR Sensor | Arduino UNO |
|---|---|
VCC | 5V |
GND | GND |
OUT | Digital Pin 2 |
Step 2: Open Arduino IDE
Launch Arduino IDE.
Connect Arduino UNO using USB.
Select:
Board → Arduino UNO
Port → Correct COM Port
Step 3: Write the Program
Create a new sketch and paste the code below.
Step 4: Upload the Code
Click Verify.
Click Upload.
Wait for "Done Uploading."
Step 5: Open Serial Monitor
Open Serial Monitor.
Set baud rate to 9600.
Move an object in front of the sensor.
You should see detection messages.